Updating to Act! v17 SP2
act! v17.2 is live and available for download! (Insert that record screeching to a halt sound effect here.) WAIT! Before you install that Service Pack, make sure you are actually ready.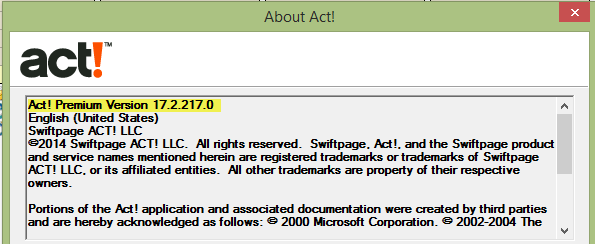
Things to consider BEFORE you update:
This means that the Service Pack should only be applied when every user and the server are prepared to update. Here are some rules to follow with any schema changing update:
- Be sure you are an act! administrator. The database will be updated after you install SP2. Only database administrators can update the database schema.
- SP2 must be applied to the host (server) and all remote databases to maintain synchronization
- SP2 must be applied to the main database host and all network users to maintain connectivity via network share
There actually quite a few fixes and features packed into 17.2.
- Global scheduling preferences
- Act! emarketing improvements – refreshed dashboard & bounced e-mail lookups
- Default History options
- Improved Google Chrome compatibility
Visit the What’s New page for details.
How to install Act! v17 SP2:
- Go to the Act! Download Center
- Click on the link for your version – Pro, Premium or Web (The web update only applies to the server hosting the web, not the end users accessing act! via the web.) If you are unsure of your version, open act! and click Help, then About Act!. Your version is listed there.
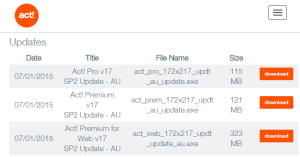
- Click Download, saving the file to a place you can easily find later
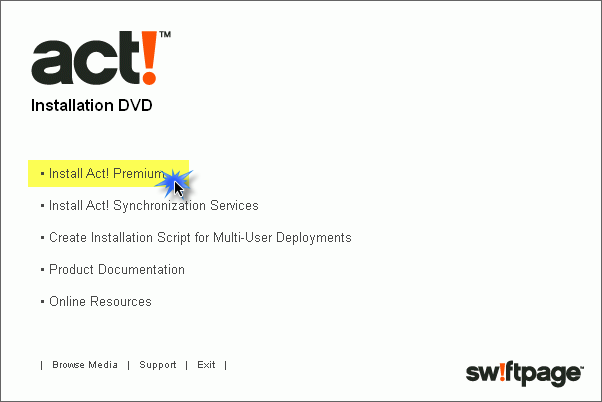
- Browse to and double click the .exe file. The install files are extracted.
- The Install screen appears. Click Install Act! Premium.

- Follow the prompts in the install wizard
- Proceed to the next section, “Applying Act! v17.2”

Applying Act! v17.2
Now that the Service Pack is installed, you are ready to update your Act! database. You must be logged in as an Act! Administrator to do so.
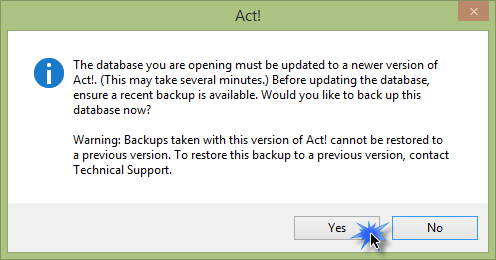
- Open your Act! database
- Click Yes to backup your database before the update

- Click OK to update your database

- An image appears, indicating that your database is updating
- When complete, a message appears. Click OK.

After the database is updated, double check your version by clicking Help, then About. Your version should now read 17.2.217.0. If you have any issues, or aren’t comfortable updating, drop us a line. That’s why we’re here – support@3leafcrm.com.